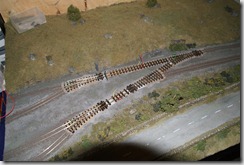
A 009 narrow gauge model railway of Rhyd Ddu. The project was born in late 2005. This blog describes the planning, woodwork, track laying, wiring, DCC, scenery, locomotive and rolling stock. The layout is an impression of the Welsh Highland Railway (WHR) Rhyd Ddu station and Tro Ffridd reverse curves. 009 is 4mm scale (OO) narrow gauge using N gauge track.
Wednesday, May 26, 2010
Work plan
- Track joins - ensuring these are as good as possible is key to good running and a few may need some extra work, although two which were sub-prime have been replaced during the recent yard relaying.
- Replacement of the far loop point (Waunfawr end) with a DCC friendly version and the installation of the hoff, the final chapter in the track relaying saga
- Replacement of the tamper shed, which is in stock and should be easy - I'm also going to run track inside it which will need an extra feed.
- Backscene - photos taken, collage being worked up. Backup plan is a siomple sky blue colour.
- Lighting - 13mm tubing on order ready for test installation of ikea black lamps into the tubing, secured by a grub screw.
- Hidden sidings - have come on a lot recently but require finishing and the extra storage tracks being laid. This requires the boards to be erected next to their neighbours in the garage. This is likely to happen this weekend.
- Curtains - with Mum for work
- Water tower strappings - brass wire in stock, requires some measuring and soldering up and painting black.
- Carriages - painting to be completed in a couple of days to be booked off work for mega spray days! Detailing, glazing and people installation to follow.
- Locomotives - an area of concern but hope to have 3 NGG16s, 2 funkeys and some other locos (merddin, russell etc) ready.
- Couplings - will be bemo style and many in stock already but an area where little has been done so far.
- Testing - !!
- Preparation for transport - ways of joining two boards together for safety in transit to be investigated.
- T shirts/badges?
Lots to do!
Monday, May 24, 2010
A little bit more relaying
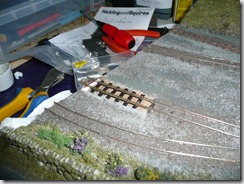
I’ve decided to relay one of the approaches to a board join as the gap in the rails was too much. Here the new section awaits the drying of the glue on the new copper clad end sleeper.
Sunday, May 23, 2010
Hooray!
Today the final point motor was installed and after a little fiddling it worked perfectly. yes!
In other news Mum has taken away the 9.5m of dark blue material I bought from a mill in Accrington last year to sew in hems and one side of velcro. The other (the fluffy side) will be affixed to the layout later. The idea is that there is one continuous curtain of material around the layout. Thanks Mum!
Now I’m on to painting track and erecting the hidden sidings on their trestles in the garage for final alignment and the installation of the plywood backs and the rest of the storage sidings.
Oh and if anyone knows a good source of cheap tube (something quite sturdy and capable of taking a small hole for a grub screw, with an internal diameter of 12.5mm (I can live with 13mm) then please let me know – thanks.
Colin
Saturday, May 22, 2010
Good news
The extra hoff accessory switch was also installed and the wires from the LED point indicator signal attached. These switches are pretty natty! The point indicator lights when the points are set for normal (right hand) running.
Friday, May 21, 2010
why I hate peco points
I’m beginning to feel that it would have been far easier to have built my own points, I have already relaid the yard points once to make them DCC ‘friendly’ and now it looks like I’m going to have to remove the tiebars and replace with copper clad.
Various attempts at getting the hoffmanns to throw the points fully across have all failed – altering the position of the motor, sticking pads to the tiebar, glueing the throw rod to the tie bar etc etc etc etc
After solving the problem of the throw rod twisting in the tiebar hole by glueing it in, the new problem is that the tiebar bends vertically when the throw rod moves – arggghhh! Simply there is too much flex in the plastic tiebars.
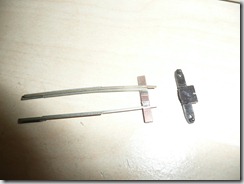
Having taken apart an old point you can see that the alteration should be easy… This will then allow me to drill through the new tiebar and to solder brass tube directly onto the copper having been poked through from below, the throw rod (piano wire) will then sit inside that tube and……. hopefully……… work!
Long term this is probably a good mod anyway for reliability.
Problems there
Unfortunately the idea of using araldite to glue pieces of copper clad to the point tiebar has failed, I suspect because of the kind of plastic from which the tiebar is made. It did affix, but not very well and eventually came away.
I also tried bending the piano wire into a loop at the top and attaching this to the tiebar through two holes instead of one, but this was no more effective as the wire still pivots – it needs to be properly attached to the tiebar somehow so it can’t pivot but will throw horizontally. Back to the drawing board.
Ideas are to melt the tiebar so it encapsulates the piano wire, but this is dangerous if it doesn’t work. I’ve tried adding some superglue to the loop for now, although it is difficult to stop this flowing and setting the whole tiebar solid. I can’t replace the whole tiebar now as it’s all ballasted. anyone got any other ideas?
Thursday, May 20, 2010
Mixed success
The other hoffs have been installed and connected with mixed success. They all work but 3 of the 4 don’t throw far enough. 1 is very close, the other 2 are not. The reason appears to be that the plastic tiebars of the peco points allow the piano wire to twist in the hole slightly reducing its power and throw. Thus I have decided to attach some small pads of copper clad to the point tiebars and to solder the piano wire to that. Problem is that piano wire is hardened steel and soldering that to copper is impossible with my current setup. Thus I’m going to find some thin copper or brass tubing for the piano wire to live in and solder the tube to the copper clad and attach that to the tiebar. So, off to find some tubing…
In other news the magnets arrived and are immense – so powerful! I also attached the two hidden sidings support struts and cut struts to support the storage sidings. The garage is looking really tidy now too!
Monday, May 17, 2010
Weekend
I painted the two public sides of the small hidden board black. Rubbed
down the top and painted that black too.
I cleared more boxes in the garage finding some bits I had forgotten I
had in the process. The garage is now sufficiently clear to take a fully erected layout.
I cut and installed the piano wire for the rest of the hoffs.
I cut two wider struts for the hidden sidings boards to ensure strength
when being carried.
I ordered some powerful rare earth magnets which will be used to align
the tracks in both horizontal and vertical planes between the hidden
sidings and the layout. They have countersunk holes in them so that I
can attach them to a wooden handle. This will make them much easier to
remove as these magnets are very powerful indeed.
I should also mention that Roy Link has published a great new book regarding Nick Welch's FR 1926 layout. This is in full colour and includes
lots of useful hints including a method for altering Taliesin so that
the pivot screw is central and the worm and first gear need not be
offset, a cradle allowing the double fairlie's motor to be removed,
the buffet car interior, alterations to bemo couplings for better
running and much else besides. It's a big book (although softback) and
thus is priced at £28. Well recommended as this layout will
never be exhibited - confirmed as I asked the author this when he
signed my copy. Thus some 'modelling' time has been spent reading
that.
Also Dad picked up a final order from me relating to hoffs on Sat from
finney and smith. This consisted of one more motor and two extra auxiliary
switches. The motors have a switch for polarity frog switching
integral, but if like me you also want to switch a signal on the basis
of the point position then you need extra add-on switches which attach
directly to the hoff.
Saturday, May 15, 2010
Clear out!
However an area in the back corner of the garage does suffer from some damp and I was annoyed to find that although I had made some precautions for this some damp had affected a few things that were stored in this area. Luckily a spare piece of plywood took most of the hit, but the 'lid' of the small hidden board will need re-cutting (it wasn't a perfect fit anyway). I have now laid a vinyl off cut in this corner and placed the things that have to live there on top of a pallet (that we randomly had in the garage left over from the delivery of our new bathroom) so they will be fine.
I also found time to attach the second traverser to its board.
The garage clearance works mean that the layout will soon be able to be erected. Thus work tonight concentrated on getting the hoffs to work so that the yard board can come to the party in the garage.
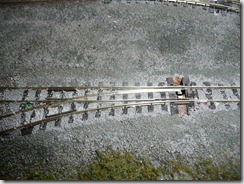
I drilled new holes through the tiebars to take the 0.8mm piano wire and test installed one hoff to see what would happen. I had found some perfect mounting screws when going through the garage earlier (image above of the motor installed). After increasing the pulse duration to 20 (2 secs), the result was excellent. I tried to take a video to show it working see below:
http://www.youtube.com/watch?v=01YuW6JFpa8
Friday, May 14, 2010
More progress
The first traverser setup has been completed after a bit of messing around and the movement of the sliders to the edge of the traverser. There remains some extra bracing to be added to the structure and a hardboard ‘safety net’ in case anything happens to fall through, and of course tracks for storage on the right and the mainline connection on the left to be done. Hidden sidings 2 needs to be similarly treated. It was getting dark though!
Inside, I started the process of ballasting the new track. Blobs of blu-tak were used to avoid ballast getting where it shouldn’t. Later I also installed, fed and ballasted the final piece of track, although it needs final alignment at the board end (I will do this once the station board is erected next to it to assure a decent cross-board join alignment. The sleeper grime stands ready for use once all is dried!
Thursday, May 13, 2010
Testing the hoffs
A quick break for lunch today and I tested a hoffmann point motor with the lenz ls150 – it works brilliantly and without the diodes suggested in the instructions (friends were correct in that these are not necessary).
I moved the accessory decoder position too as otherwise I would have had to lengthen the supply wires of the 16v AC in and DCC power in.
I have set the pulse duration to 5 or 0.5 sec which is enough to ensure the hoffmann completes its throw in the pulse duration. The default was just 0.1 sec and wasn’t enough.
Now to connect up all the wires to the decoder (I left them labelled with little white stickers ready!).
Then I’ll pin down the track (small holes have been drilled in the sleepers ready) and ballast before the hoffs get installed.
I also need an extra switch output for 2 of the hoffs to power the point indictor LED ‘signals’.
Wire we happy?
The yard board has made good progress – all feeds are now attached to the main red/black bus bars and a quick test showed that voltage was getting through to every piece of track. I have also taken the opportunity to add a number of extra feeds so that continuity is not dependent on rail joiners.
The stock rails on all the points have now been electrically bonded via loops underneath the boards (i.e. they are now DCC friendly) and all the frogs have had feeds added too ready for their connection to the point motors.
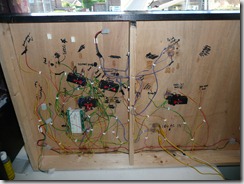
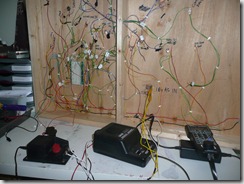
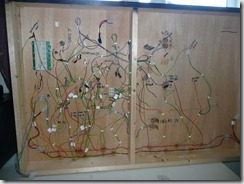
Now I need to test and then wire the point motors back to the lenz ls150 accessory decoder (which has also been installed with two small screws ready). It’s already becoming quite a maze of wires down there!
Wednesday, May 12, 2010
Monday, May 10, 2010
Holiday part 1
Some photos from our recent holiday in North Wales:
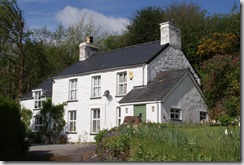
our cottage – the FR runs at the bottom of the garden behind the photographer! Very nice cottage, all you could need.
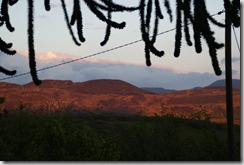
The view was quality too alongside the monkey puzzle tree.
We visited the TR…
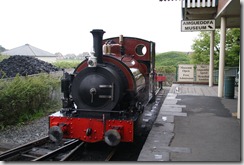
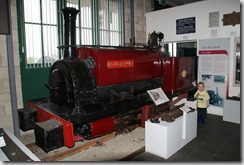
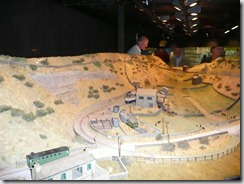
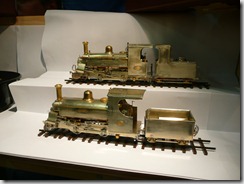
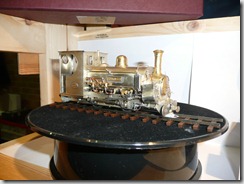
and saw an engine in the museum that we recognised!
Penrhyn Castle museum was fun – here’s Charles with Olivia running past
and the rhodos/azaleas were beautiful too.
We had a great time at a NGS garden in Harlech, sporting its own duck breeding grounds:
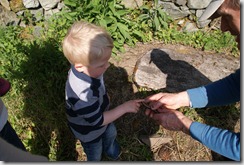
and Thomas saw a slowworm!
Portmeirion was beautiful as ever, although it was Camelias that were out more than rhodos this year.
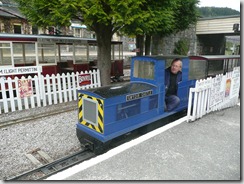
Conwy Valley railway museum was a hit with the kids – the miniature rides, museum, drive your own engine, bumper cars etc were excellent…
I drove ‘Galslyn’ on the WHHR
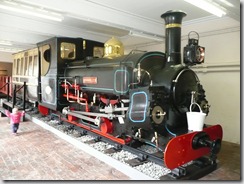
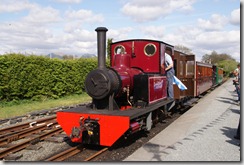
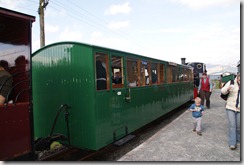
and we rode in the buffet car (yes we did have a drink – you have to!) behind Gertrude…
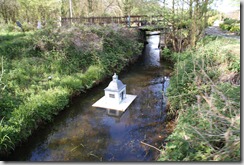
They have even added a duck house, viewable from the miniature ride! Brilliant!
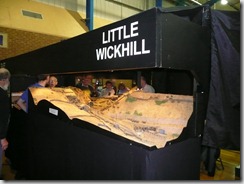
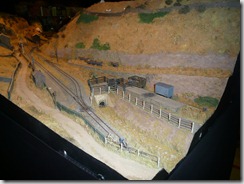
Porthmadog model railway show was excellent as ever – Little Wickhill really caught the eye!
and of course the new EDM models kits for the Penrhyn/FR Hunslets
Plas Brondanw was a joy as ever:
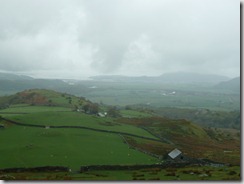
and the road to it from Tan y Bwlch has some great views, although the weather wasn’t great that day:
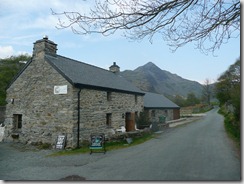
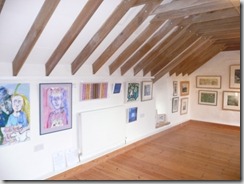
In Croesor, the new gallery and tea shop is fantastic!
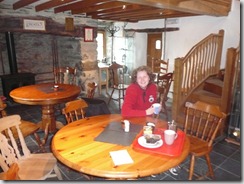
and I even got Claire wearing a railway fleece! Happy days.
More from the holidays including WHR and FR images soon.
Colin
Saturday, May 08, 2010
Back from hols and straight to it
We’re back from 8 nights in Wales – over 800 photos taken and it was great, will post about that some more tomorrow. Meanwhile it was straight back to the modelling (got to be ready for expong!)
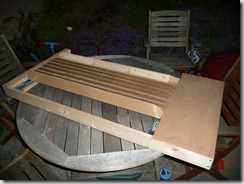
In the garage (despite the rain) I marked out and jigsawed off part of the sides of the hidden sidings baseboard to allow the traverser to pull out beyond the extent of the baseboard itself.
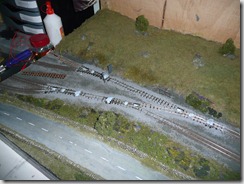
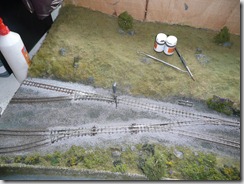
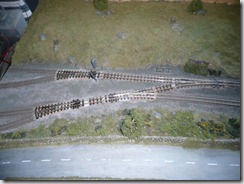
and inside I completed the relaying of the yard now that I had bought some more isolated joiners. Now to wire it up! Oh and a lenz ls150 accessory decoder has arrived, so everything is in stock for the final push.

